HOWTO: How to Install Linux on a Playstation 2 without Sony's Offical Linux Kit
What do you need?
To install linux you need the following things:
- Playstation 2 (e.g. SCPH-50004 or SCPH-39004, slim PSTwo SCPH-70000 is not recommended).
- PS2 Linux Kernel with VFAT support (devfs)
- PS2 Linux Kernel without devfs
- Initial ramdisk
- Bootloader Kernelloader
- Linux distribution to install. Please download blackrhino_baseimage-1.0.tar.gz from Sourceforge Download
- USB memory stick
- Hard disc (recommended), all data will be deleted (you can also use a USB memory stick, but then you need to change the scsi device path at your own)
- Network adapter SCPH-10350 or SCPH-10281 for PS2 (recommended, required to connect the hard disc)
- USB keyboard
- TV screen and a video cable (you can use the normal PS2 video cable)
- PS2 memory card (recommended, but not required)
- A method to boot the files is required to start kloader.elf. Please choose one:
- Modchip (I don't have a modchip, but this method should work, you need to generate a system.cnf file to start kloader.elf)
- Action Replay: The ARmax media player can start kloader.elf
- Memory card exploit memory card exploit (not working with slim PSTwo)
- Memory card exploit Free McBoot (working with old slim PSTwo)
Download vmlinux and initrd files.
Note: It is easier to start the Linux Live DVD and extract the baseimage from the DVD. The base image is at /oldroot/cdrom/SRC/BASE-1.0.TGZ. The kernel is on the DVD at BOOT/VMLINUX.GZ.
To get the command line, you need to start xterm from the menu. Then you need to enter the command "su" to get root access.
Steps:
Note: The screen shots are from an old kernelloader version, you should use the newest version.
- Create directory "ps2linux" on a USB memory stick and copy all files here (vmlinux, vmlinux.devfs, initrd.gz and blackrhino_baseimage-1.0.tar.gz).
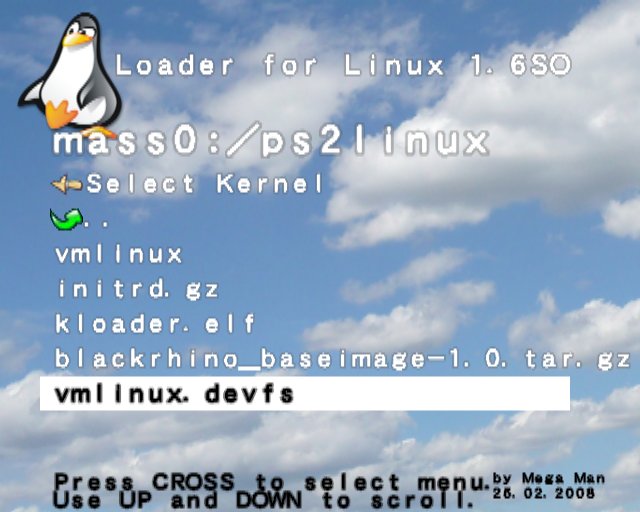
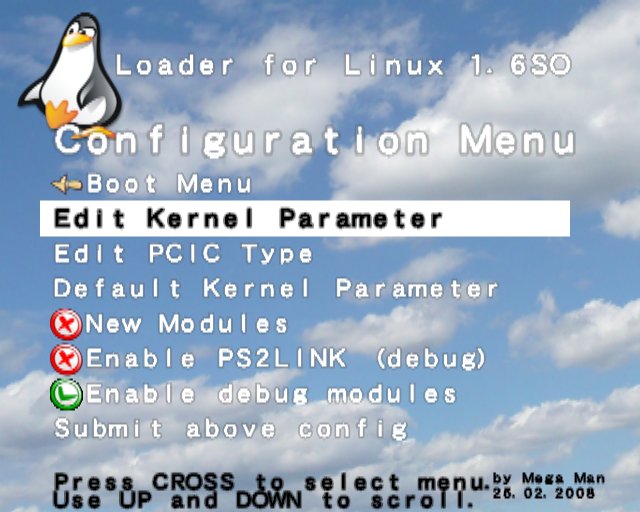
- Start "kloader.elf" using your preferred booting method. At startup you will see the following screen. You can use the PS2 controller to navigate through the menu. The button CROSS selects a menu entry. It is also possible to use a USB keyboard and press UP and DOWN keys. You can select a menu entry by pressing RETURN.

- Select kernel vmlinux.devfs. This kernel supports VFAT used on most USB memory sticks.


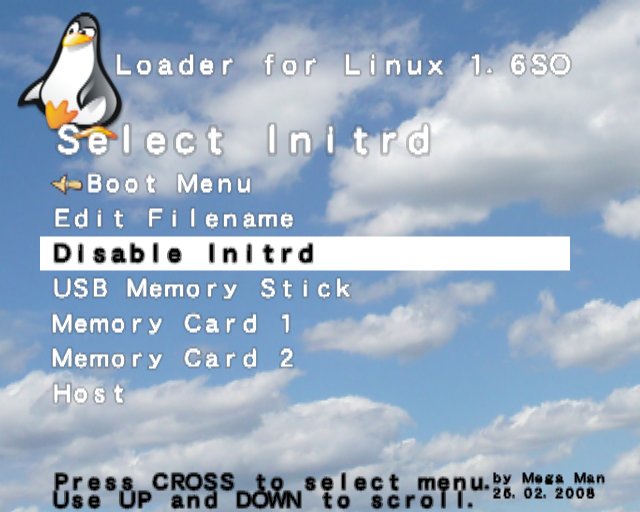
- Select initial ramdisk (initrd). We need a small system to install Linux.


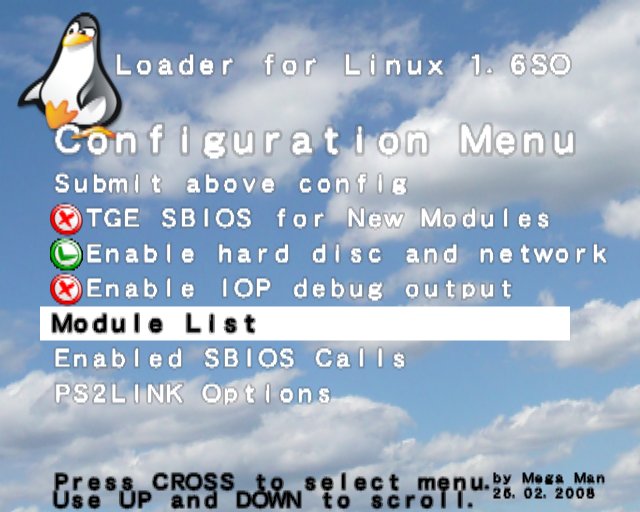
- Disable "dmarelay.irx" (recommended). This is only required if you use other kernels with DMA support.

- Boot Linux
- Create Linux partitions on hard disc (CAUTION: all data will be deleted).
- fdisk /dev/ide/host0/bus0/target0/lun0/disc
Commands (key + return):
"p" - Show partitions
"d" - Delete partitions
"n" - Create partitions
"t" - CHange partition type
"w" - Write data back
"q" - Quit
If you use a kernel without devfs (e.g. from the Live DVD), the command is different:
fdisk /dev/hda - internal IDE hard disc
fdisk /dev/sda - first external USB mass storage
fdisk /dev/sdb - second external USB mass storage
Steps:
- Show all partitions with "p".
- Delete all partitions with "d".
- Create a swap partition with "n", "p", "1", "1", "+128M".
- Change partition type with "t", "1", "82".
- Create root partition with "n", "p", "2", return, return.
- Write partition data on hard disc with "w"
- Format swap partition (CAUTION: Delete all data on hard disc):
- mkswap /dev/ide/host0/bus0/target0/lun0/part1
If you use a kernel without devfs (e.g. from the Live DVD), the command is different:
mkswap /dev/hda1 - internal IDE hard disc
mkswap /dev/sda1 - first external USB mass storage
mkswap /dev/sdb1 - second external USB mass storage
- Format root partition (CAUTION: Delete all data on hard disc):
- mke2fs /dev/ide/host0/bus0/target0/lun0/part2
If you use a kernel without devfs (e.g. from the Live DVD), the command is different:
mke2fs /dev/hda2 - internal IDE hard disc
mke2fs /dev/sda2 - first external USB mass storage
mke2fs /dev/sdb2 - second external USB mass storage
- Mount hard disc
- mkdir /mnt
- mount /dev/ide/host0/bus0/target0/lun0/part2 /mnt
If you use a kernel without devfs (e.g. from the Live DVD), the command is different:
mount /dev/hda2 /mnt - internal IDE hard disc
mount /dev/sda2 /mnt - first external USB mass storage
mount /dev/sdb2 /mnt - second external USB mass storage
- Mount USB memory stick (read only):
- mkdir /usb
- mount -r /dev/scsi/host0/bus0/target0/lun0/part1 /usb
If you use a kernel without devfs (e.g. from the Live DVD), the command is different:
mount -r /dev/sda1 /usb - first external USB mass storage
mount -r /dev/sdb1 /usb - second external USB mass storage
- Extract Linux distribution
- cd mnt
- tar -xzf /usb/ps2linux/black~1.gz
- There will be many messages printed showing that date is in the future.
- Customize Linux installation:
- vi /mnt/etc/fstab
Commands:
ESC - Get back to command mode.
"i" - Insert text.
"x" - Remove character.
":wq" - Save and quit.
":q!" - Quit and don't save.
- Exchange "hda1" and "hda2". "hda1" must be swap. "hda2" must be "ext2".
If you installed to USB memory device, exchange hda by sda.
- Unmount and reboot:
- cd /
- unmount /mnt
- unmount /usb
- shutdown -h now
- Start "kloader.elf" using your preferred booting method.
- Select kernel vmlinux.

- Disable initrd
- Change kernel parameter using USB keyboard to "crtmode=pal root=/dev/hda2 ro" or "crtmode=ntsc root=/dev/hda2 ro" (Keep your "pal" or "ntsc" setting).
If you installed on USB mass storage, you need to use initrd.usb2.gz and kernel parameter "newroot=/dev/sda1" for first partition or "newroot="/dev/sda2" for second partition and remove parameter "root".

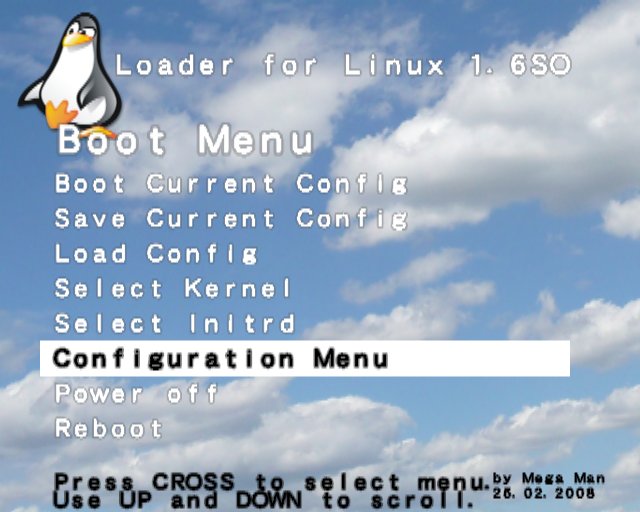
- Save configuration.

- Boot Linux.
- You can now login as "root" user and use Linux.
